projectdiscovery/interactsh

An OOB interaction gathering server and client library
| repo name | projectdiscovery/interactsh |
| repo link | https://github.com/projectdiscovery/interactsh |
| homepage | https://interact.projectdiscovery.io |
| language | Go |
| size (curr.) | 174 kB |
| stars (curr.) | 304 |
| created | 2021-01-29 |
| license | MIT License |
Interactsh is an Open-Source Solution for Out of band Data Extraction, A tool designed to detect bugs that cause external interactions, For example - Blind SQLi, Blind CMDi, SSRF, etc.
Features
- DNS/HTTP/SMTP Interaction support
- CLI Client / Web Dashboard support
- AES encryption with zero logging
- Automatic ACME based Wildcard TLS w/ Auto Renewal
- SELF Hosting version support
A hosted instance of the service with WEB UI is available at https://interact.projectdiscovery.io.
Note: As hosted version doesn’t store anything locally, restarting server for maintenance / unexpected server crash / updates will result into loss of previous data.
Installing Interactsh Client
Interactsh Client requires go1.15+ to install successfully. Run the following command to get the repo -
▶ GO111MODULE=on go get -v github.com/projectdiscovery/interactsh/cmd/interactsh-client
Usage
interactsh-client -h
This will display help for the tool. Here are all the switches it supports.
| Flag | Description | Example |
|---|---|---|
| n | Number of interactable URLs to generate (default 1) | interactsh-client -n 2 |
| persistent | Enables persistent interactsh sessions | interactsh-client persistent |
| poll-interval | Number of seconds between each poll request (default 5) | interactsh-client -poll-interval 1 |
| url | URL of the interactsh server (default “hxxps://interact.sh”) | interactsh-client -url hxxps://example.com |
| json | Show JSON output | interactsh-client -json |
| o | Store interaction logs to file | interactsh-client -o logs.txt |
| v | Show verbose interaction | interactsh-client -v |
Running Interactsh Client
This will generate single URL that can be used for interaction.
▶ interactsh-client

    _       __                       __       __
   (_)___  / /____  _________ ______/ /______/ /_
  / / __ \/ __/ _ \/ ___/ __ '/ ___/ __/ ___/ __ \
 / / / / / /_/  __/ /  / /_/ / /__/ /_(__  ) / / /
/_/_/ /_/\__/\___/_/   \__,_/\___/\__/____/_/ /_/ v0.0.1

		projectdiscovery.io

[INF] Listing 1 URL for OOB Testing
[INF] c23b2la0kl1krjcrdj10cndmnioyyyyyn.interact.sh

[c23b2la0kl1krjcrdj10cndmnioyyyyyn] Recieved DNS interaction (A) from 172.253.226.100 at 2021-26-26 12:26
[c23b2la0kl1krjcrdj10cndmnioyyyyyn] Recieved DNS interaction (AAAA) from 32.3.34.129 at 2021-26-26 12:26
[c23b2la0kl1krjcrdj10cndmnioyyyyyn] Recieved HTTP interaction from 43.22.22.50 at 2021-26-26 12:26
[c23b2la0kl1krjcrdj10cndmnioyyyyyn] Recieved DNS interaction (MX) from 43.3.192.3 at 2021-26-26 12:26
[c23b2la0kl1krjcrdj10cndmnioyyyyyn] Recieved DNS interaction (TXT) from 74.32.183.135 at 2021-26-26 12:26
[c23b2la0kl1krjcrdj10cndmnioyyyyyn] Recieved SMTP interaction from 32.85.166.50 at 2021-26-26 12:26
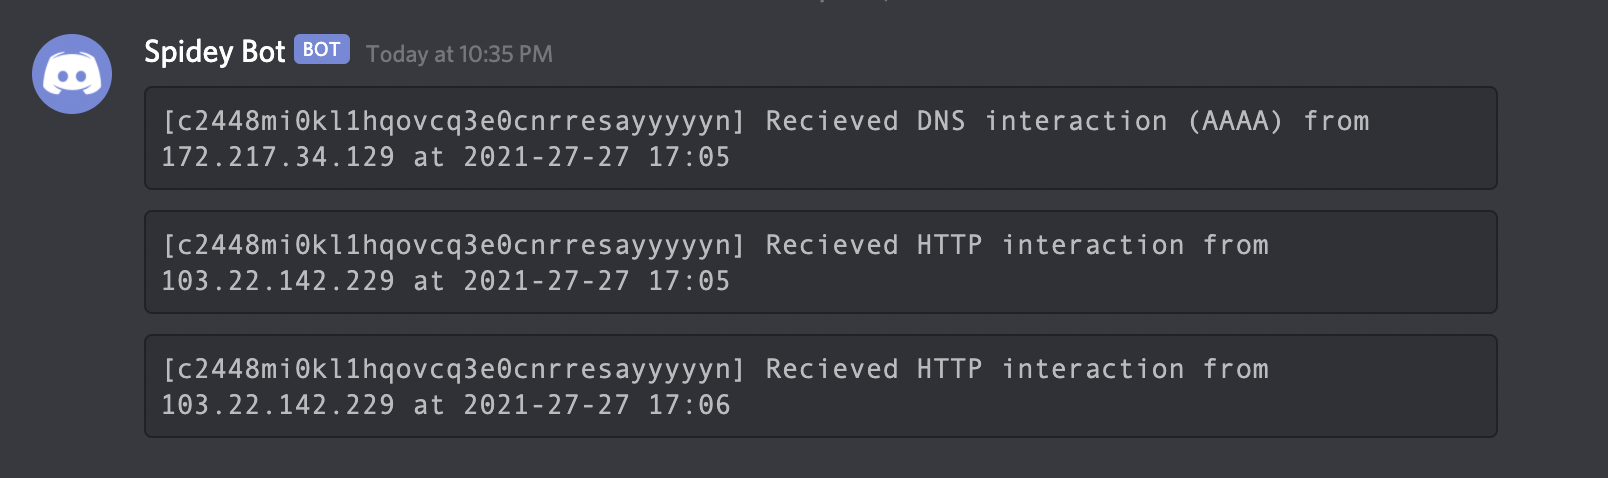
Sending Interaction to Discord,Slack,Telegram with Notify
▶ interactsh-client | notify
Setting up self-hosted instance
-
Start with setting up Debian box, Debian is required as you need to setup your own Name servers.
-
Navigate to
https://dcc.godaddy.com/manage/{{domain}}/dns/hosts> Advanced Features > Host names, addns1andns2as hostnames with the IP of your server. -
Navigate to
https://dns.godaddy.com/{{domain}}/nameservers> Enter my own nameservers (advanced) > Addns1.{{domain}}andns2.{{domain}}as name servers. -
Installing interactsh-server on your server.
GO111MODULE=on go get -v github.com/projectdiscovery/interactsh/cmd/interactsh-server
- Starting interactsh-server, to ensure server is always running in the background, make sure to start the server in the screen session.
interactsh-server -domain {{Domain}} -hostmaster admin@{{Domain}} -ip {{Server_IP}}
interactsh-server -domain example.com -hostmaster admin@example.com -ip XX.XX.XX.XX
Server setup should be completed with this, now client can be used to generate your own payloads.
- Installing interactsh-client for using interactsh service.
GO111MODULE=on go get -v github.com/projectdiscovery/interactsh/cmd/interactsh-client
- Running interactsh-client with self-hosted domain.
interactsh-client -url https://example.com
Acknowledgement
Interactsh is inspired from Burp Collaborator.
License
Interactsh is distributed under MIT License and made with 🖤 by the projectdiscovery team.


